Creating a project
Learn how to create a project on Bimefy.
Creating a Project
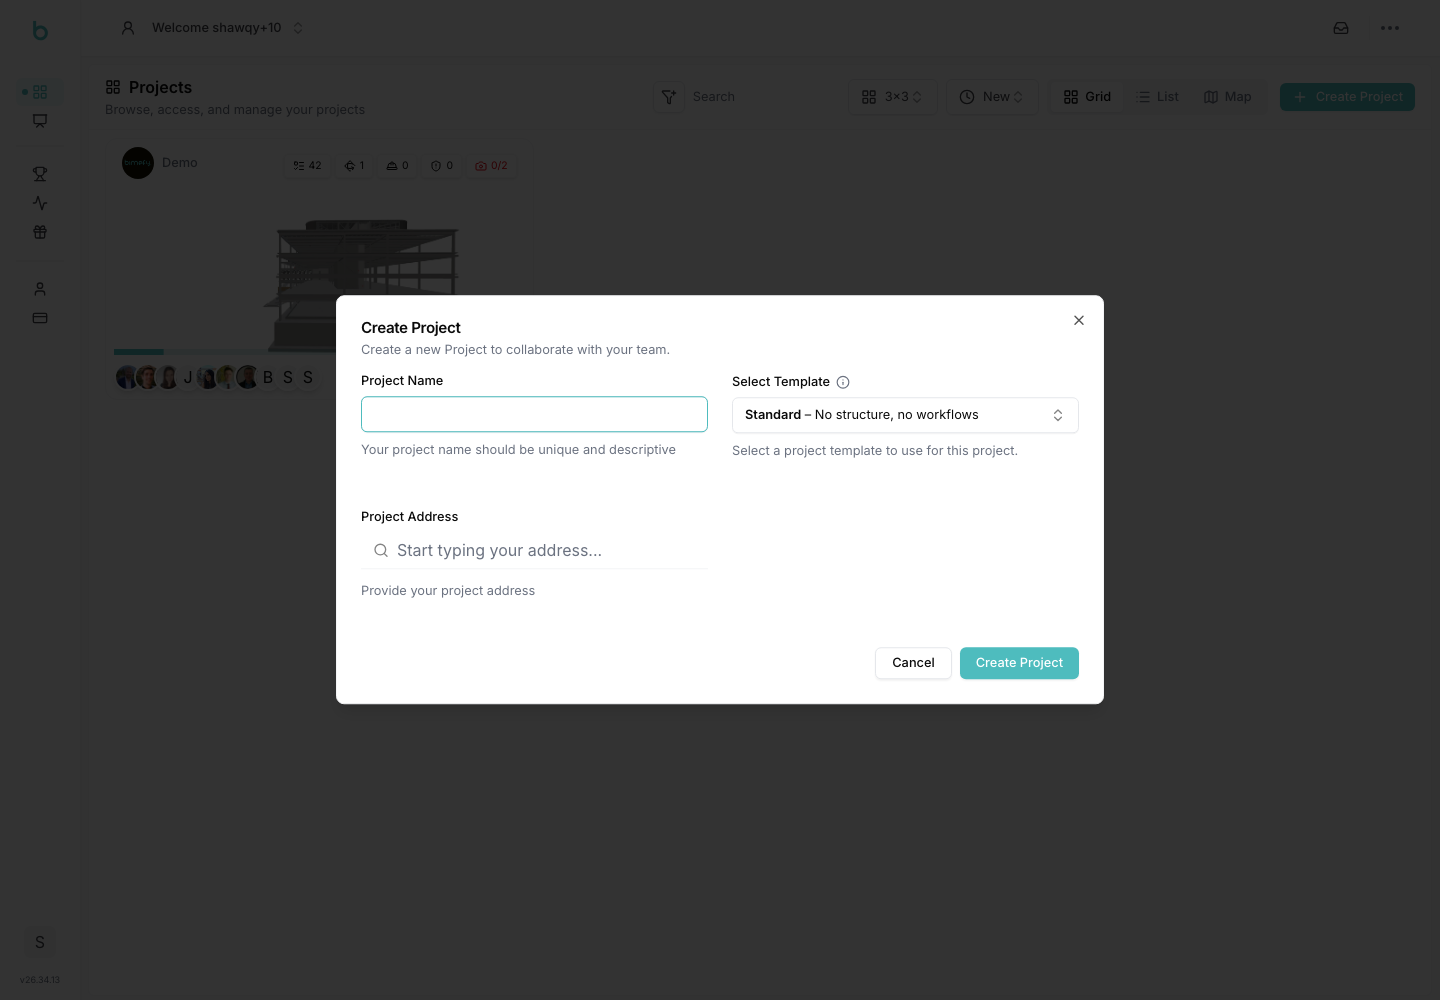
Once you’ve created your account, the next step is to create a project. Here’s a guide to get you started:
1. Accessing the Project Creation Menu
- Locate the Account/Project Dropdown:
- On the top left of your screen, you’ll find a dropdown menu that shows your personal account and existing projects.
- Click “Create Project”:
- Click on the dropdown, then select the Create Project button to open the project creation dialog.
2. Entering Project Details
- Provide a Project Name:
- A prompt will appear asking you to enter the name of your project.
- Type in a name that reflects the purpose or scope of your project.
- Click on “Create Project”:
- Once you’ve entered the project name, click the “Create Project” button.
!! Note that you can add more than one project to your account. Each project will have its own set of files, tasks, and team members.
3. Navigating to the Project Dashboard
- After creating your project, you will be automatically brought to the Project Dashboard.
- This dashboard is your central hub for managing the project, accessing tools, and collaborating with your team.
4. Exploring Project Features
- Left-Side Menu Navigation:
- On the left side of the screen, you’ll notice a menu with various options. Two key features you’ll use often are:
- Planning & Tasks: Manage your project tasks on a Kanban board and timeline.
- File Manager: Access and manage all your project files, under the "Files & Models" section.
- On the left side of the screen, you’ll notice a menu with various options. Two key features you’ll use often are:
5. Uploading BIM Project Files
- Access the File Manager:
- Click on File Manager in the left-side menu to open the file browser.
- Upload Your Files:
- Drag and drop or click to upload your BIM project files. Bimefy supports several formats:
- IFC (Industry Foundation Classes)
- RVT (Revit)
- DWG (AutoCAD)
- PDF (Documents)
- Drag and drop or click to upload your BIM project files. Bimefy supports several formats:
- Viewing Files:
- Once uploaded, you can open and view your files directly from the Files Explorer by clicking on the file you wish to view.