Collaborating with team members
Learn how to collaborate with team members on your project on Bimefy.
Using Planning & Tasks
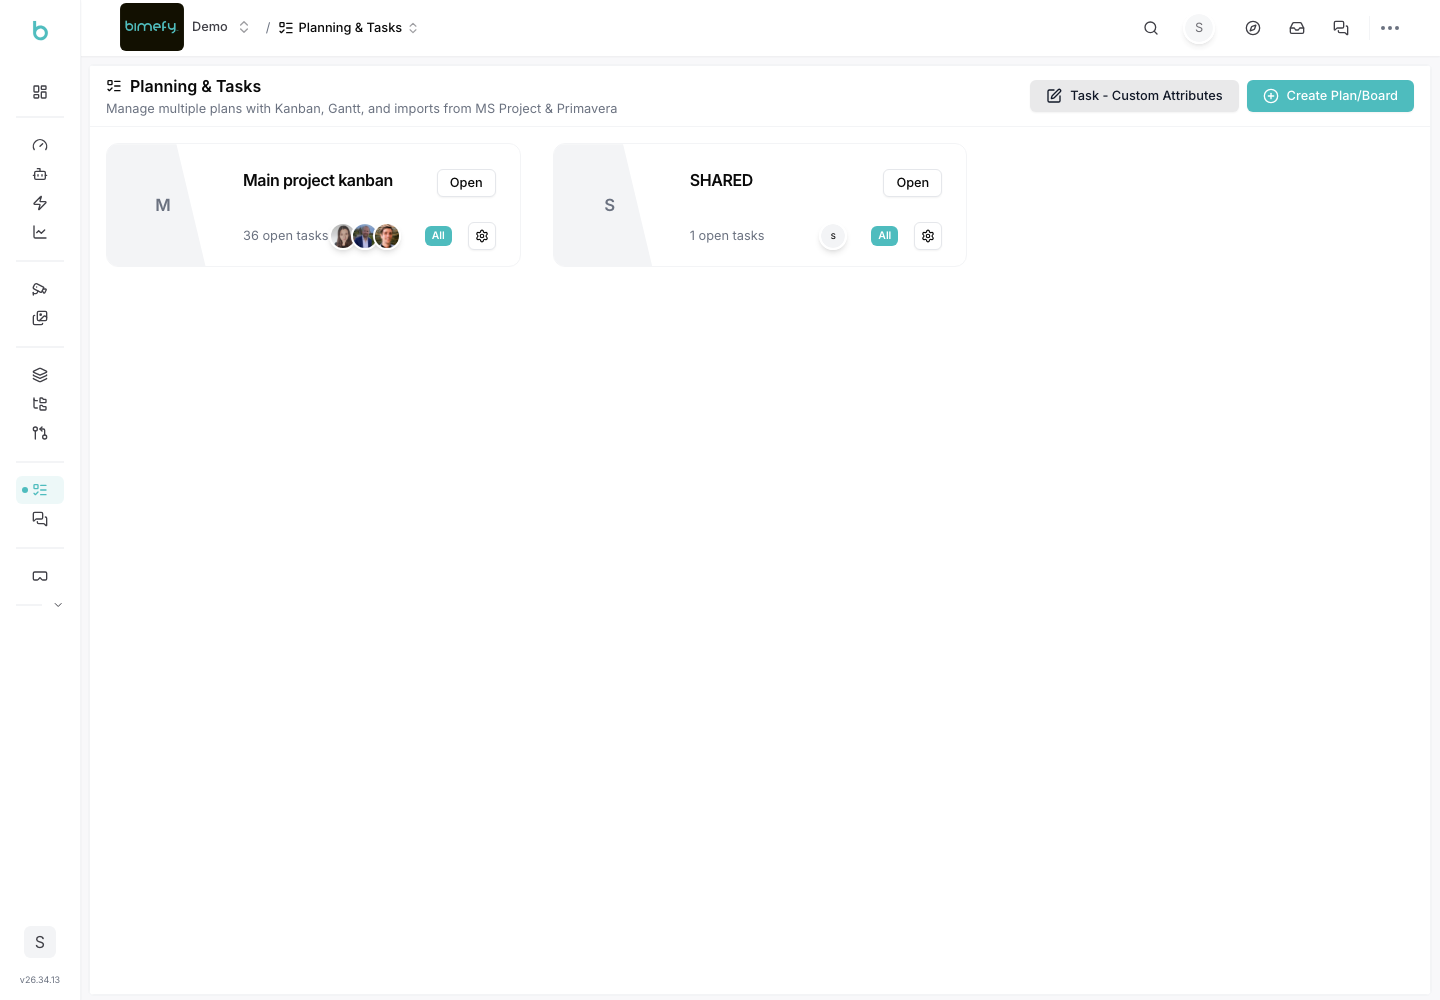
The Planning & Tasks board in Bimefy (found under the "Collaboration" section of the left-side menu, alongside Conversations) is a powerful tool for managing tasks, tracking progress, and organizing your project’s workflow. Here’s how to use it effectively — see the Task Management guide for a deeper dive, including Gantt/timeline views.
1. Accessing Planning & Tasks
- Locate the Planning & Tasks Menu Item:
- On the left-side menu of your project dashboard, under Collaboration, find and click on Planning & Tasks.
- Open the Board:
- Clicking on it will take you directly to your Kanban board where you can start managing your tasks. You can also switch to a Gantt/timeline view for scheduling.
2. Understanding the Board Layout
The Kanban board is organized into columns, each representing a different stage of your project’s workflow. Typically, you might see columns like To Do, In Progress, and Completed. Each task, represented by a card, moves across these columns as it progresses.
- To Do: Tasks that need to be started.
- In Progress: Tasks that are currently being worked on.
- Completed: Tasks that have been finished.
3. Creating and Managing Tasks
1. Add a New Task:
- To add a task, click on the “+ Add Task” button usually found at the top of the To Do column.
- Enter the task’s name, description, and any relevant details such as due dates, assigned members, or priority.
- Click Save to create the task.
2. Edit or Update a Task:
- Click on any task card to open its details.
- You can update the task’s information, change its status, reassign it to different team members, or adjust deadlines.
- After making changes, click Save to update the task.
3. Move Tasks Across Columns:
- As tasks progress, simply drag and drop the task cards between columns (e.g., from To Do to In Progress).
- This visually tracks the status of each task within the project workflow.
4. Assigning Tasks to Team Members
1. Assign Members:
- Within each task, you can assign one or more team members to be responsible for it.
- This helps to clarify ownership and ensure that everyone knows what they’re working on.
2. Tracking Task Progress:
- Team members can update the status of tasks as they work on them, providing real-time visibility into the project’s progress.
5. Filtering and Organizing Tasks
1. Use Filters:
- You can filter tasks by criteria such as due date, assigned member, or priority. This helps you focus on what’s most important.
2. Search Functionality:
- Use the search bar to quickly find specific tasks by name or keyword.
6. Collaborating on Tasks
1. Comments and Notes:
- Within each task, there’s a section for adding comments or notes. This allows team members to communicate directly about the task, share updates, or discuss any issues.
2. Attachments:
- You can attach files, such as documents or images, directly to tasks. This is useful for keeping all relevant materials together in one place.